


Very Short Tutorial on Exporting Pixelart as Icons in Aseprite
I "rember" being really confused on how you'd export your pixelart and make it into icons.
so i thought i'd write down my know how on what i know about doing it!
see this more as a little walkthrough'ish guide with a little bit of into about .ico files sprinkled in over. hope you enjoy :>
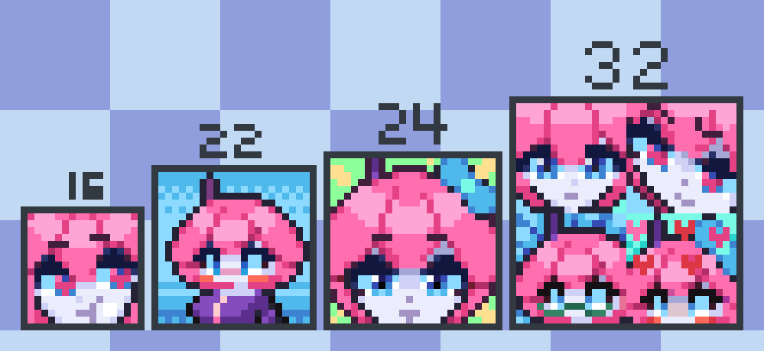
First and formost Make your icons! something like this ↓
.ico Files comes in a few different sizes, i'll list them bellow
(only inportent for older Windows Vista, 7 and Older says: Google atleast)
Standard Icon sizes (all has 24bit color, 8bit transparency)
- - 256 x 256
- - 48 x 48
- - 32 x 32
- - 16 x 16
Extra icon sizes
- - 180 x 180
- - 128 x 128
- - 96 x 96
- - 72 x 72
- - 64 x 64
- - 24 x 24
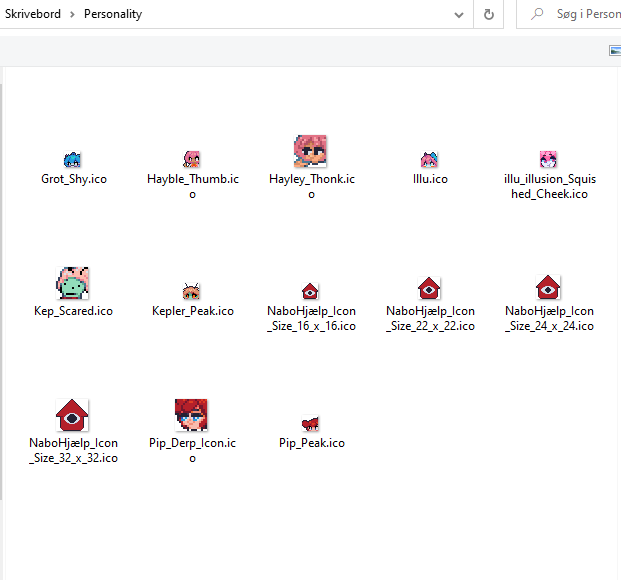
Though as the good reader you've already noticed that theres a 22 x 22 in the picture above and That size is not on the list
well thats because the sizes seem only to be importent for computers running windows Vista, 7 and Older. so if you're not on one of those OS..'es[?] then you should just be fine exporting at any size :>
Welp that was the info part done! Now to export your pixelart as an icon!
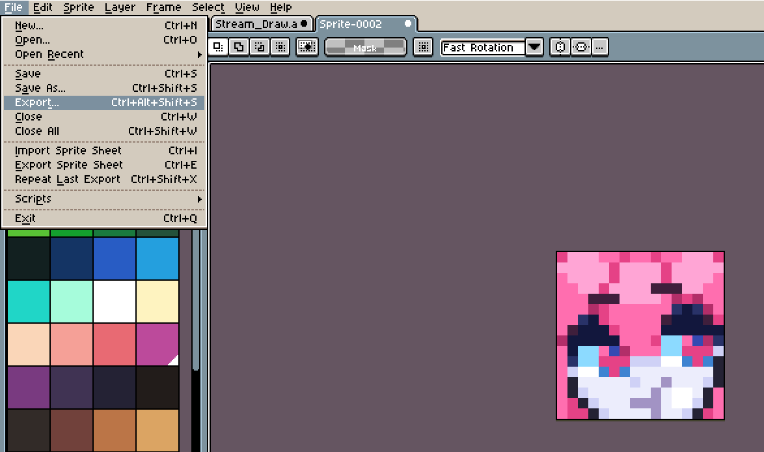
Go to your Export Screen like you would any other time you've exported pixelart.
But in your Export settings, Change the file type to be .ico and set the resize value to 100% aka the default size
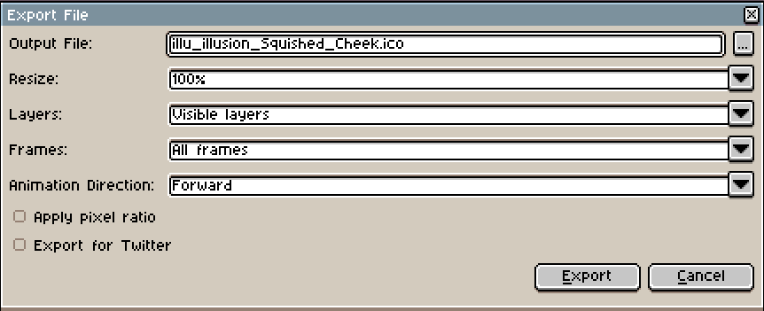
Clicking export it should just export without any problems.
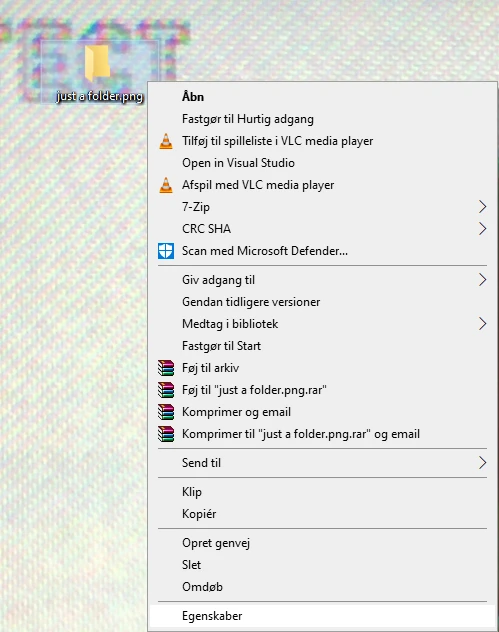
Then you should just find a little .ico file where the export place is located like this

(picture resized by 600% for your viewing pleasure)
Thats basicly it. i hope this was helpful, i sure needed some help on this, i remember using like 4 hours trying every "How to make png into Icon Tutorial" on youtube and still not having it work out. so hope this helps :>
but for people who havent ever changed an icon on their computer yet, i'll explain how to do that aswell
How to change icons on stuff 101
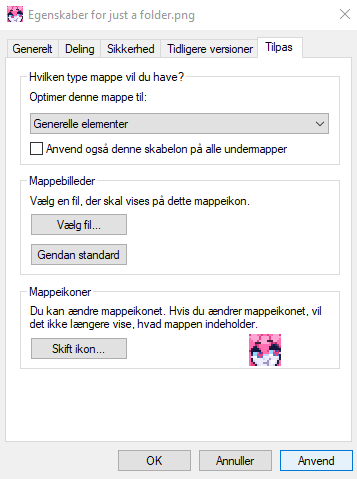
So to change an icon on something, like a folder, program. we first need to go to the files Properties
(Note: "Egenskaber" is "Properties" in Danish)
After clicking the Properties tab
A new menu should open up, in that you need to go Customize aka the last one
(Note No2: "Tilpas" Means "Customize" in Danish)
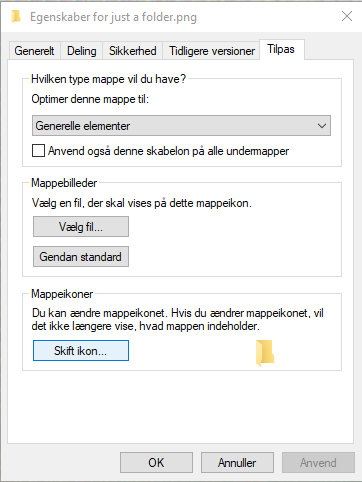
You need to click on the Change Icon button at the bottom of the menu,
(Note No3: "Skift Icon means Change Icon in Danish")
it should open up the menu bellow
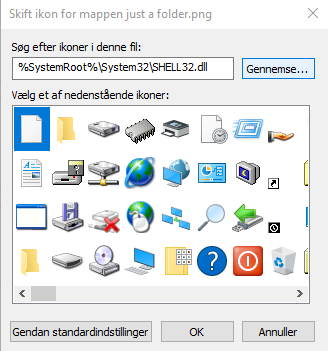
You'll wanna click on the Browse button and find your icon on your Computer
(Note No4: "Gennemse" means "Browse" in Danish")
i Have all my Icons in they're own Folder for easy access sence the Browse button remembers where you last found a Custom Icon.
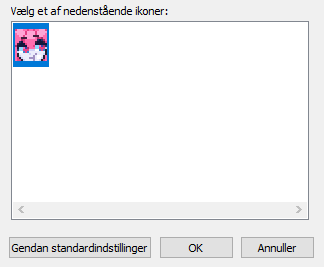
finding and clicking and clicking the OK button, the icon should change the Icon of the Folder / Program / File
Then Remember to click the Apply button
Then it should end up looking like this !
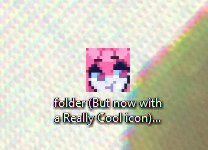
And thats it! now you have your own Pixelart as an Icon on your home computer!
More Reading / Resources
- Wikipedia on .Ico files and .cur files (.cur files are for Cursors)
I hope this helped you! you can as always check out me on Twitter! and dont fear to DM me i'd love to see what you guys make! or if you guys have an idea on how to word something more clearly - @GratGrottenberg