00:00
00:00
Grat-Grottenberg
Mojne Mojn!~ i'm a Robot! sometimes i upload art here sometimes i make a blog tutorials here, you'll never know when though

Age 20, It/She

Student

Denmark

Joined on 12/19/19

Level:
10
Exp Points:
937 / 1,110
Exp Rank:
70,606
Vote Power:
5.19 votes
Rank:
Civilian
Global Rank:
> 100,000
Blams:
0
Saves:
1
B/P Bonus:
0%
Whistle:
Normal
Medals:
48

Grat-Grottenberg's News

Posted by Grat-Grottenberg - April 27th, 2023


Intro

iu_957775_7775309.gif

Gif from here


Pixelart is great and all but you can't easily put it on your desk to show off your pixel prowess.


but you're in luck because theres quite a few mediums you can use that'll work for pixelart!

and i've compiled a list for you, just pick any chapter that interests you !


If theres any mediums you think should be on the list then please say so!


HAMA & Perler Beads (Iron-fusible-beads)

One way to make your pixelart come to life is through Hama-beads also known as Perler-beads!

iu_957776_7775309.webp

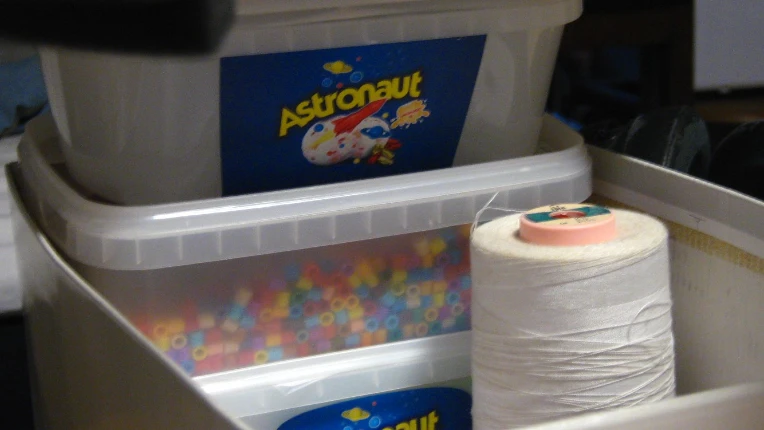
[a photo of ironing beads in icecream containers and a spool of string in a cardboard box]


Other names for these beads include "Fuse-beads", "Thermo-beads", "Iron-beads", "Iron-fusible-beads". Hama and Perler actually refer to the company they're from..


Hama-beads are small beads of plastic that are then placed onto Hama-pegboards as seen from their factory tour video here. what we're interested in is the Square pegboards.


In Denmark these beads are often found in any bookstore, i do not know how easily they're obtainable in other countries, i would recomend checking any of your local arts and crafts stores or stopping by the HAMA or Perler website.


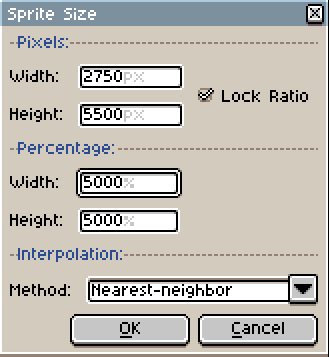
Square pegboards follow the pixelgrid unlike other pegboards, a square pegboard is *Often* 30 x 30 beads/pixels, i recomend buying square pegboards that can snap together to make a bigger pegboard. like shown bellow.


iu_957777_7775309.webp

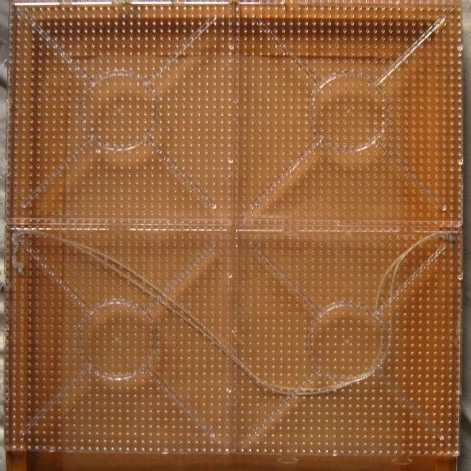
[a set of 4 square HAMA pegboards interlocked to create a bigger "pixelgrid"]


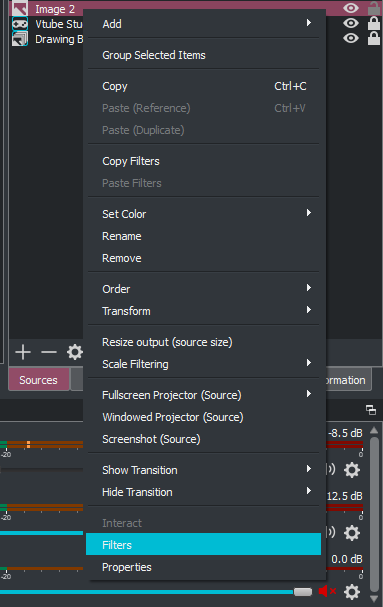
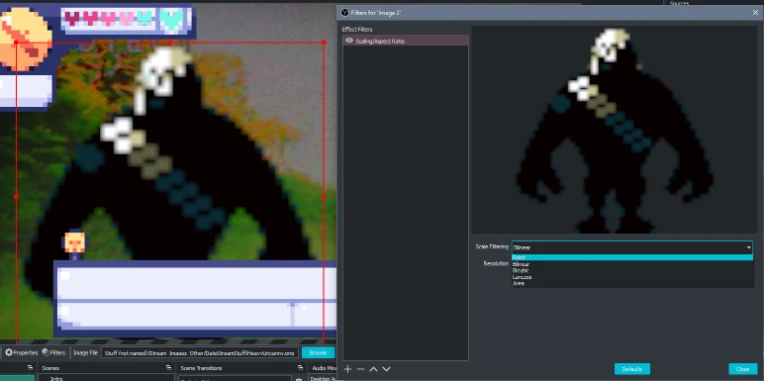
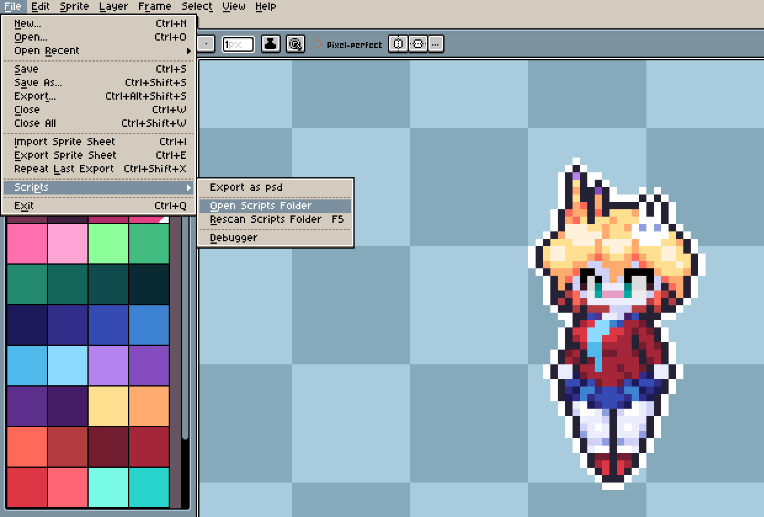
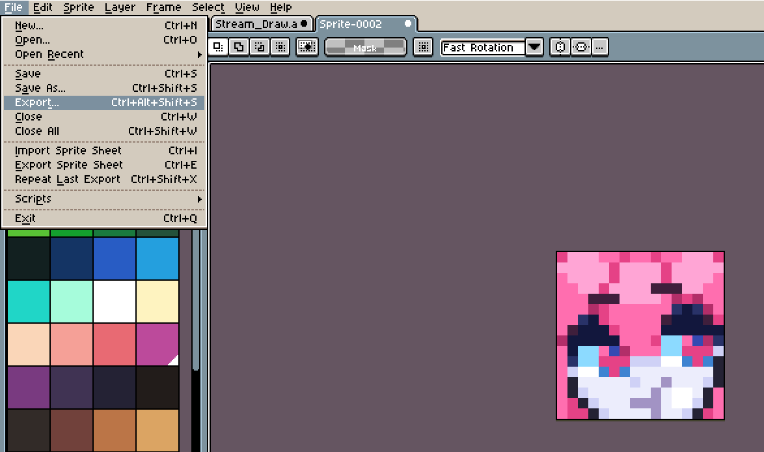
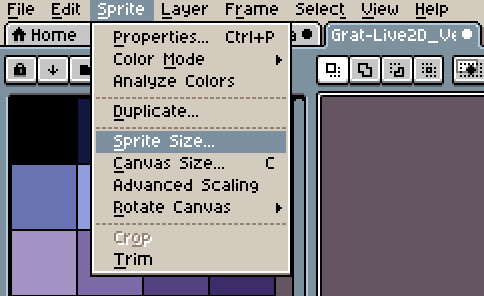
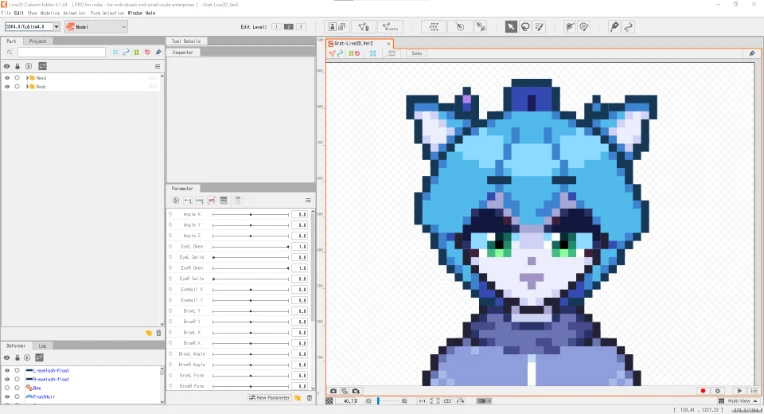
In Aseprite you can activate "Visible Pixel Grid" to make it easier to see where to place your beads on your pegboard


iu_957778_7775309.png

iu_957779_7775309.png

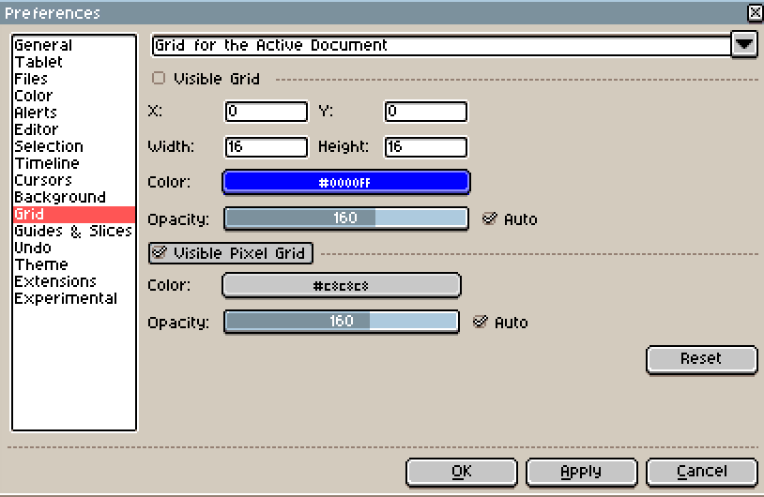
1 [Aseprites Properties tab in the Grid, Visible Pixel Grid is marked as active]

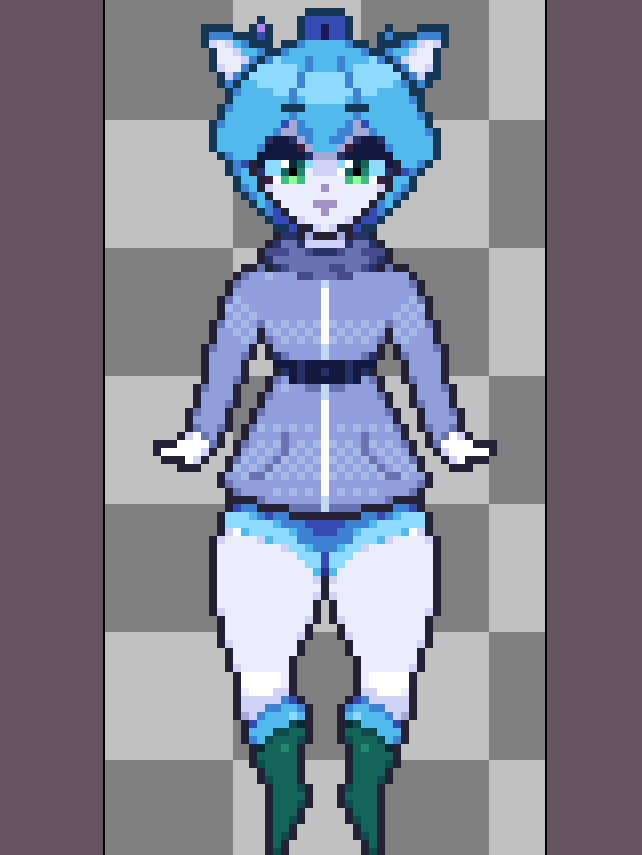
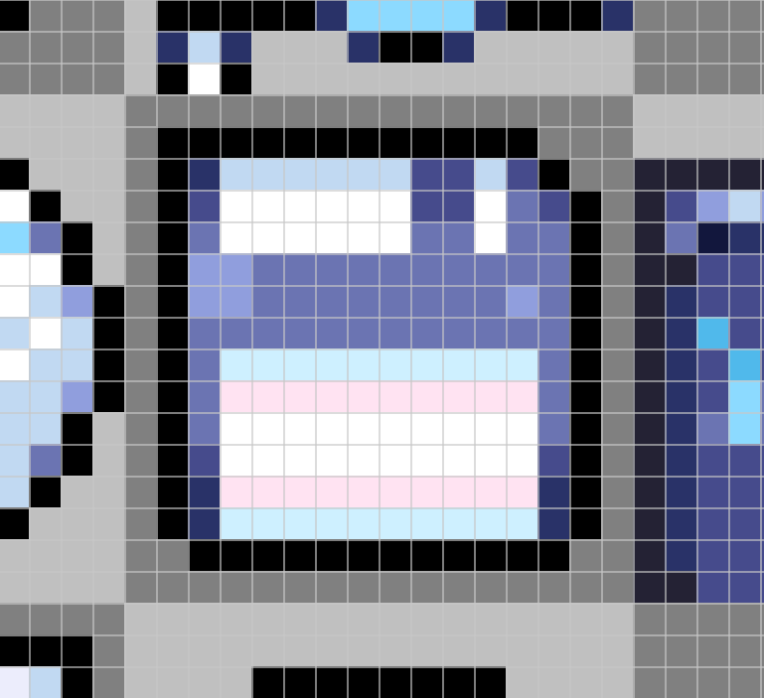
2 [a Pixelart rendition of a floppy disk, the writable part of the floppy disk has the coloration of the transgender pride flag]


Once you're done you simply place a parchment paper over the beads and iron the beads.

i recommend placing an even and heavy weight over the beads and afterward ironing the otherside aswell. a book and a dumbell works wonders for this if you have it :>


Extra stuffz

Oh actually another thing about these beads i thought i'd throw in too, Theres an Artist on Twitter that draws pixelart that looks like beads @iws_nbs_tmr or 鰯(いわし) on Dotpict


since i'm Waaaaaaayyy to shy to DM them to ask if i can show it off, i tried making my own bead pixelart inspired by them, it was a lotta fun i'd recommend you try it too !


iu_957780_7775309.png

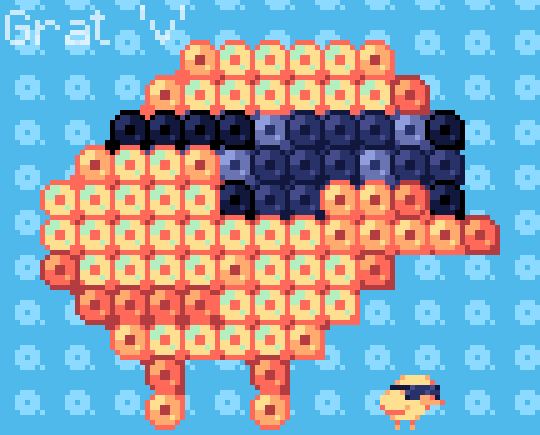
[A baby chick with sunglasses on inspired by how 鰯(いわし) draws pixelart that looks like ironing beads]


Cross Stitching + Embroideries

Cross Stitching is a lot like pixelart, its a way to sew, the pixels in this form takes a form of X formed stitches on a fabric


heres an exsample of a painting made with cross stitching, artist unknown


iu_957781_7775309.jpg

iu_957782_7775309.webp

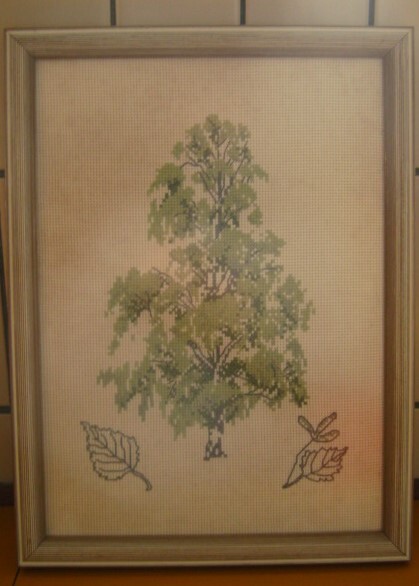
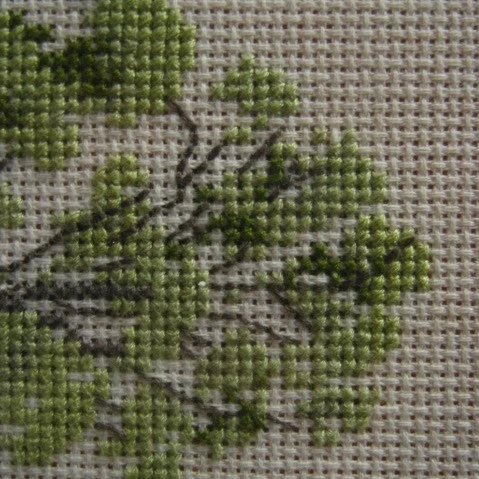
1 [a cross stitch painting of a tree with loose leaves]

2 [a zoomed in photo of the X cross stitching]


as you can see cross stitching can also *break* the pixelgrid by making lines of string connecting the pixelart like pictured above, i'm not the police so you break the pixelgrid as much as you like :>


Extra Stuffz

theres also a big pixelartist by the name of 8pxl

who also makes lots of cross stitching of their own pixelart like here

they're on TumblrTwitterInstagram & more


鰯(いわし) earlier mentioned in the thermal beads chapter also makes pixelart that looks like cross stitchings like here


Mosiacs + LEGO Mosiacs

""A mosaic is a pattern or image made of small regular or irregular pieces of colored stone, glass or ceramic, held in place by plaster/mortar, and covering a surface."" - Wikipedia


some people also use LEGO like Here


as mosiacs are rarely exsactly pixelart as the pieces can be differing shapes, but some are made with pure squares like pixels! like bellow


iu_957784_7775309.webp


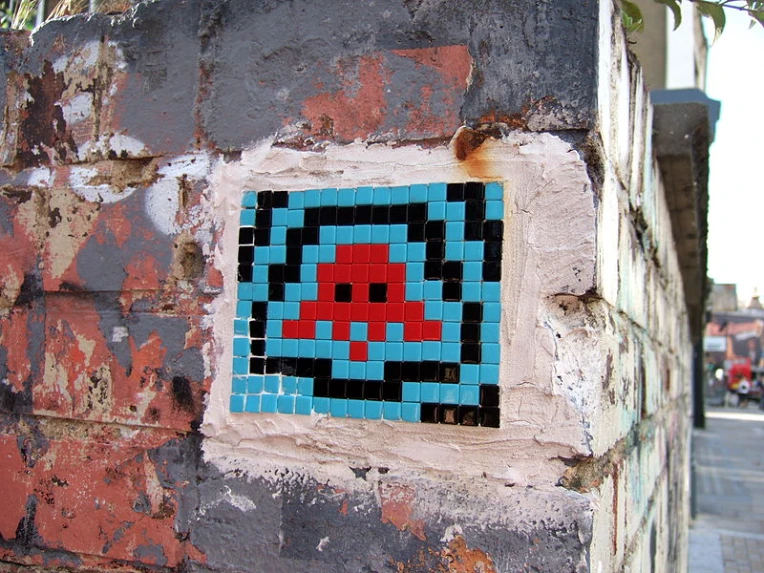
a work by Invader looks somewhat like a squid, it's made of square pixelart like pieces

This Photo is taken from Wikipedia


Mosiacs may be expensive and hard to get, but if this interests you i'd recomend searching online!


Paper Crafts & Paper Minecraft

Minecraft Papercrafts

Did you ever try making paper Minecraft? i sure did! and had a blast doing it


Paper Minecraft is made through printing out flat connected textures on printer paper, like here, theres a big Guide to Minecraft Papercrafts Here 


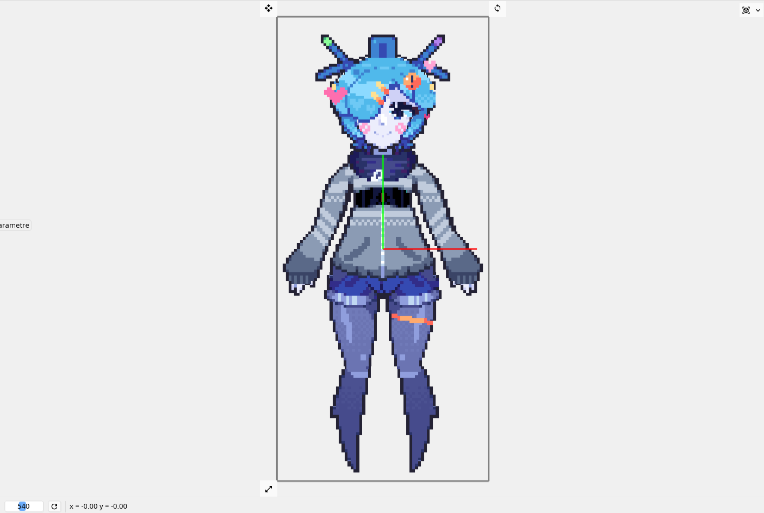
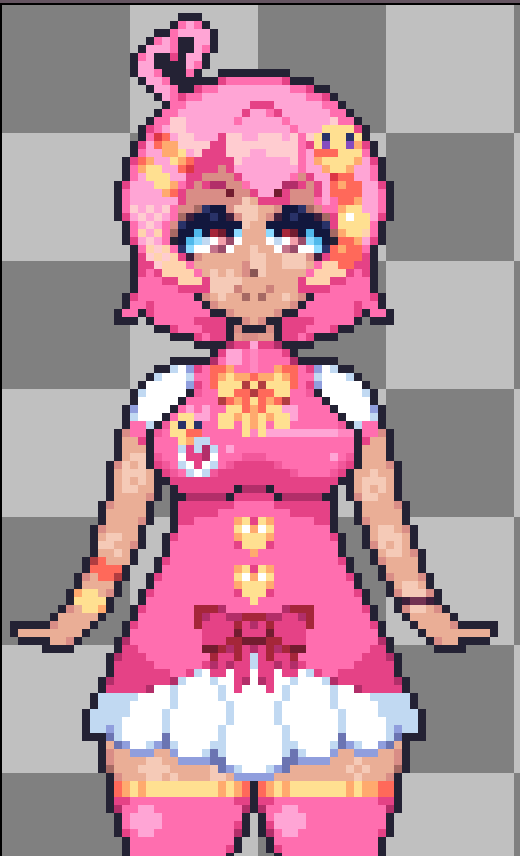
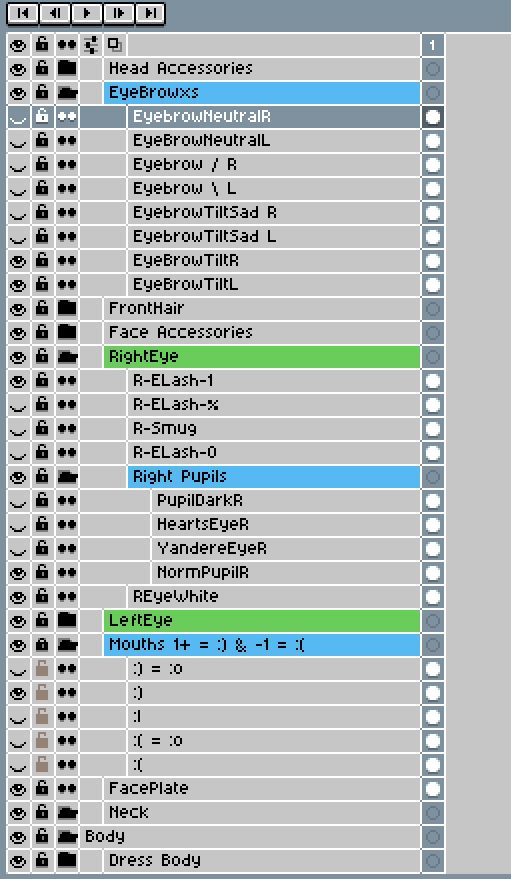
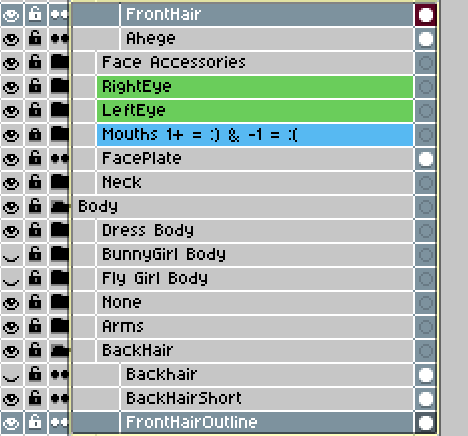
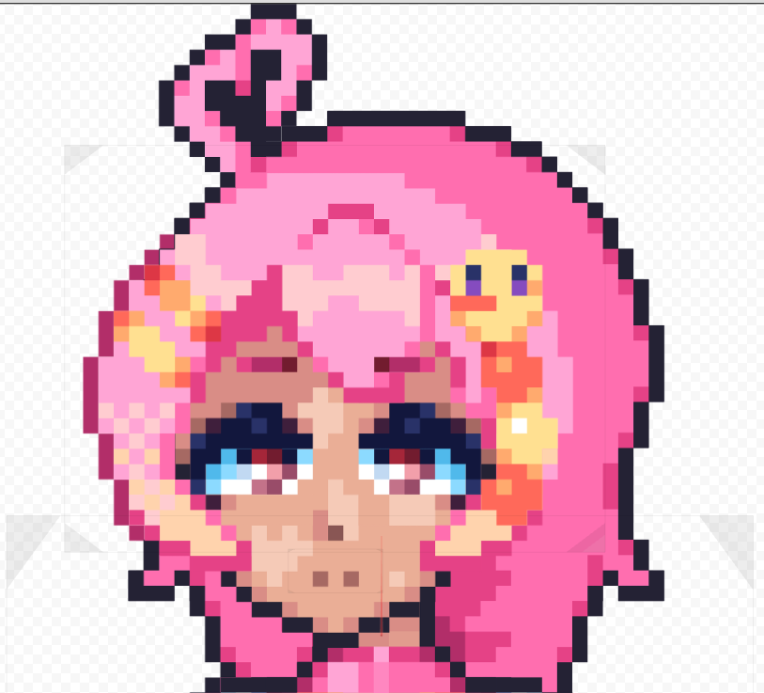
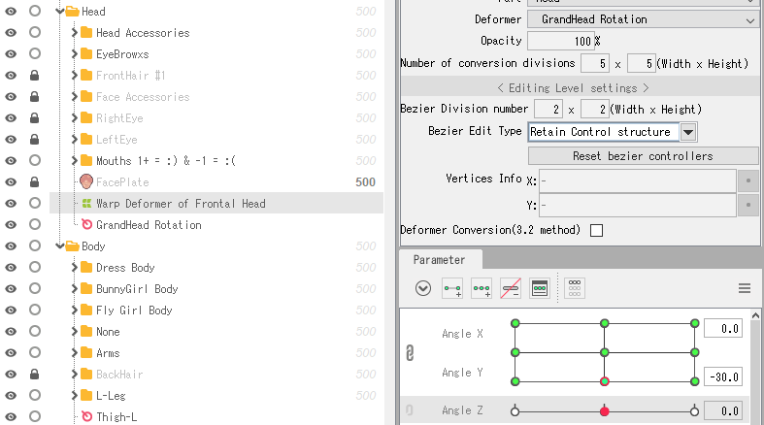
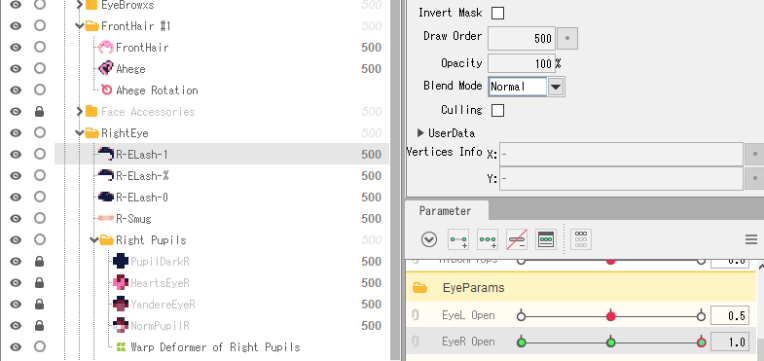
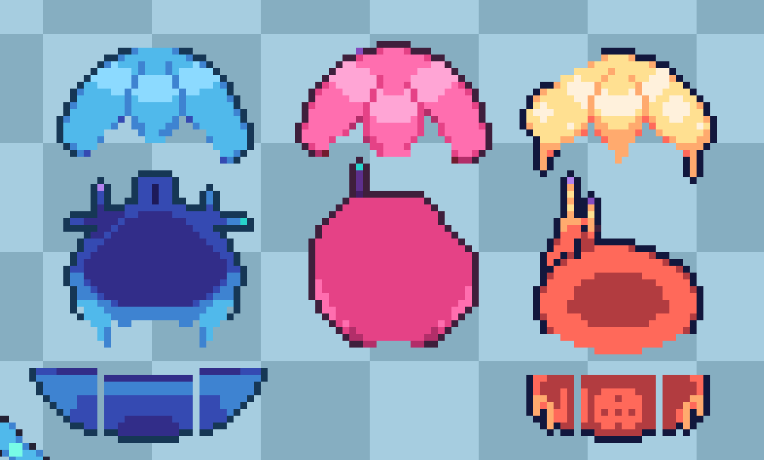
a Program fit for lowpoly is a good way to prototype your idea, here Crocotile3D is shown


iu_957783_7775309.png

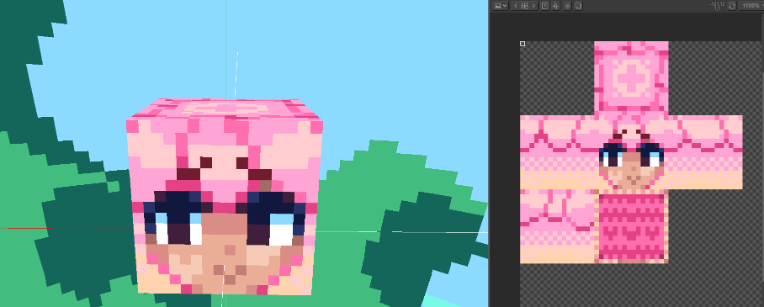
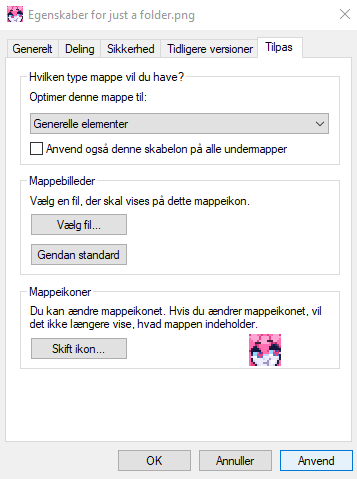
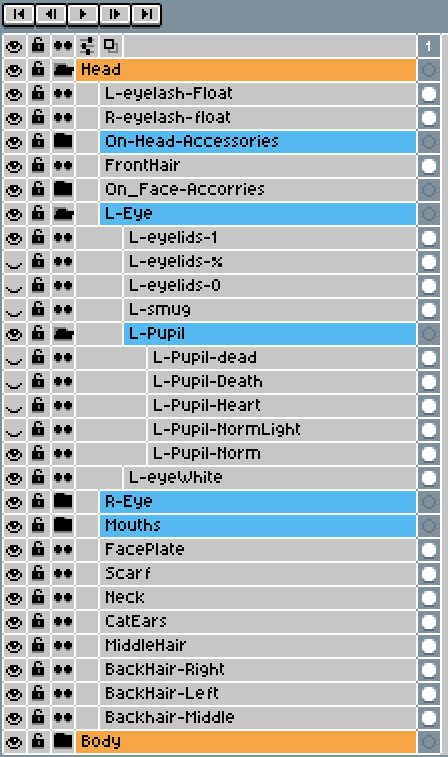
[Crocotile3D showing a head with pink hair with the texture panel on the side]


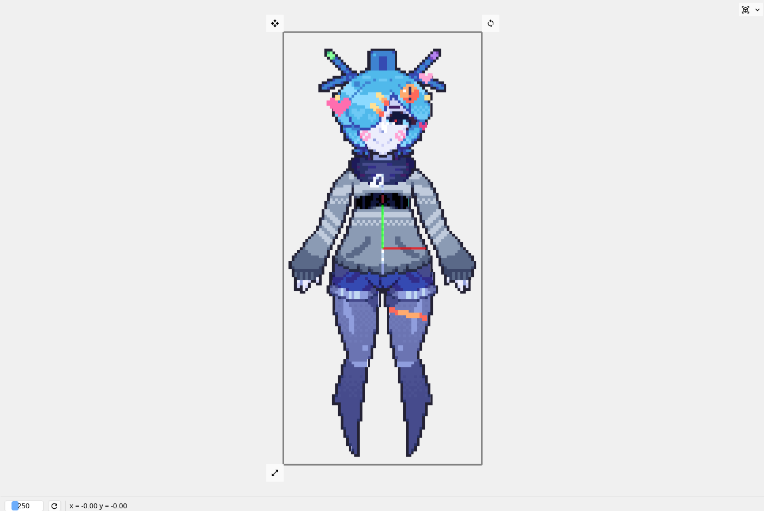
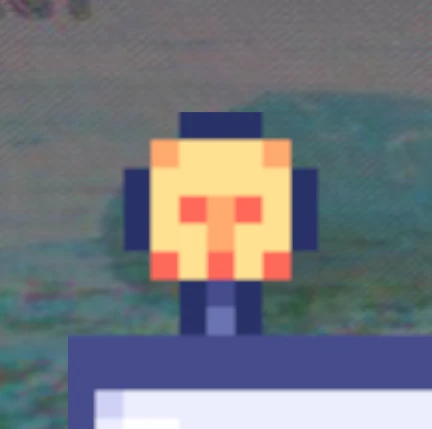
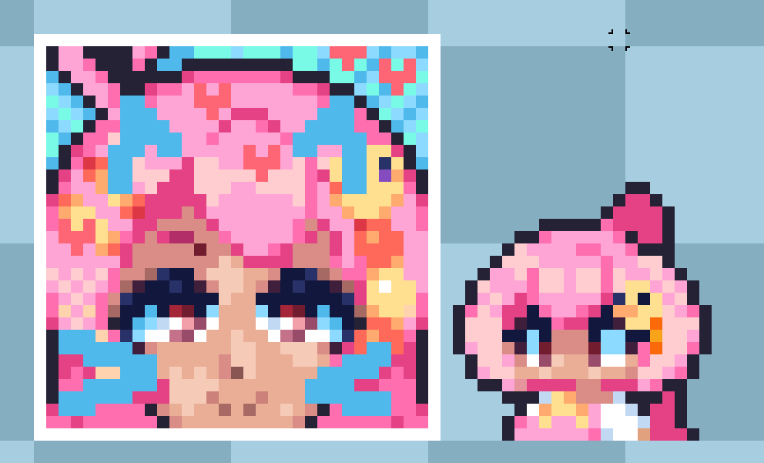
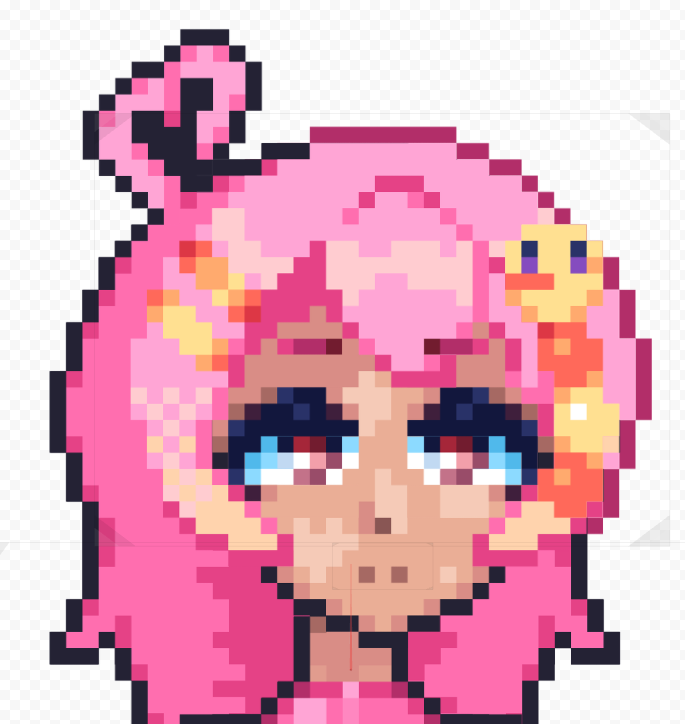
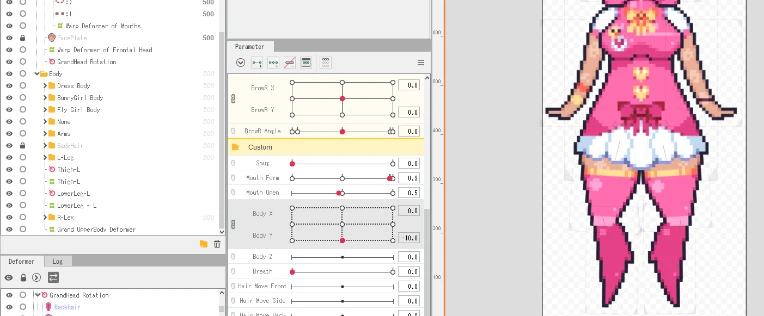
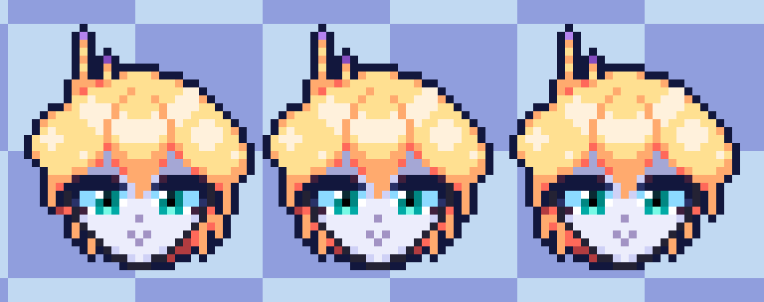
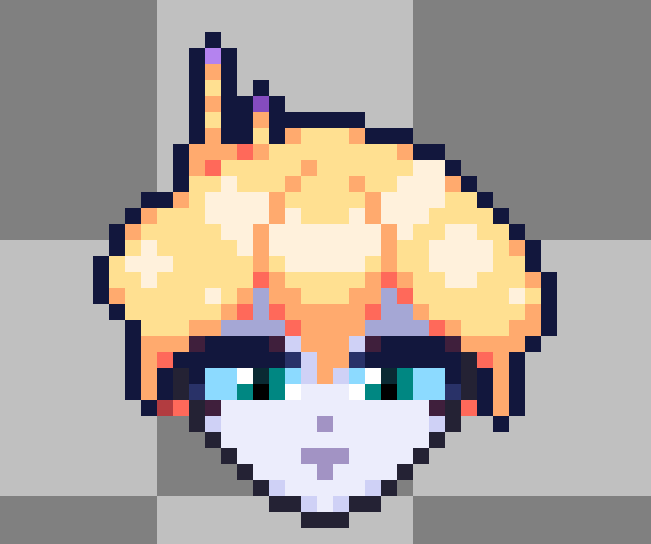
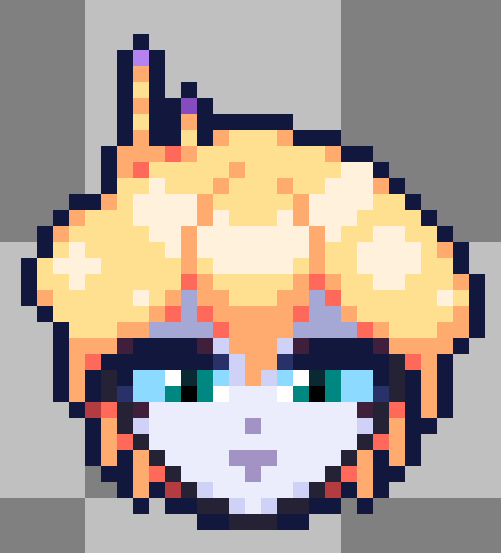
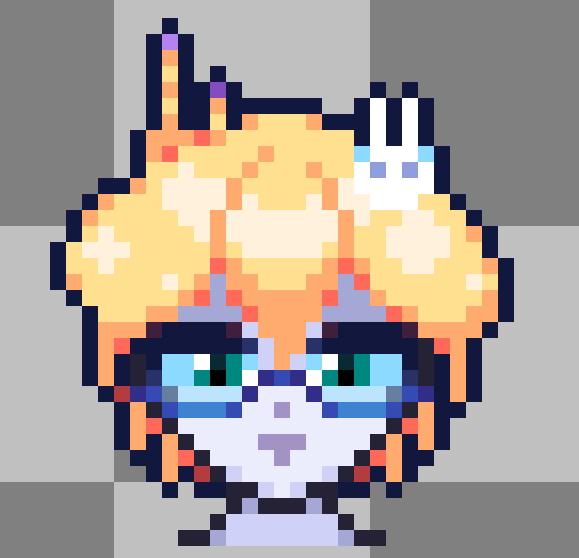
printing out the texture and taping them together to make a block just like Paper Minecraft, i recomend putting those tabs found on the print out minecrafts too like here


iu_957785_7775309.jpg

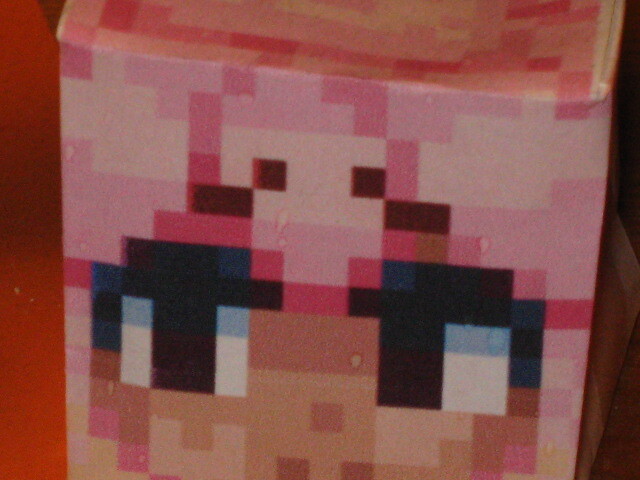
[a close up image showing the head from the previous image]


Simple printouts

Another way to bring your pixelart to life through paper is by just printing it out, and placing cardboard feet on them, something like how they did in the Outro to OK KO


https://www.youtube.com/watch?v=TZoYb5E5zwA

[a youtube video displaying OK KO's outro, theres print outs of the characters from the show, with cardboard feet so they don't fall over]


Highly recomend laminating your printouts, so they're a little more resistant to moisture, especially for wetter climates


iu_957786_7775309.webp

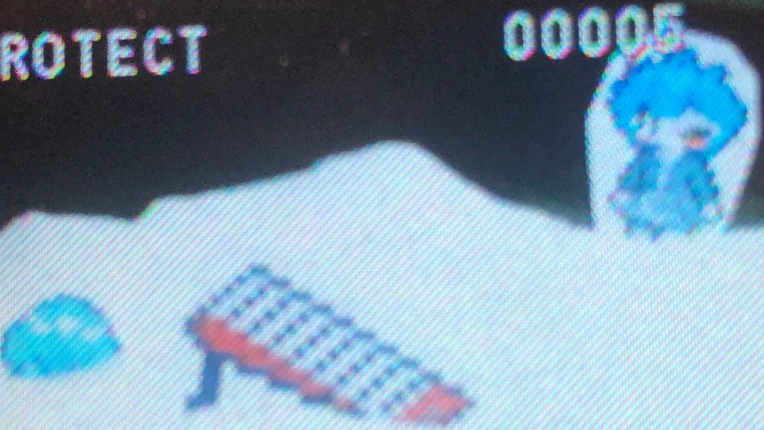
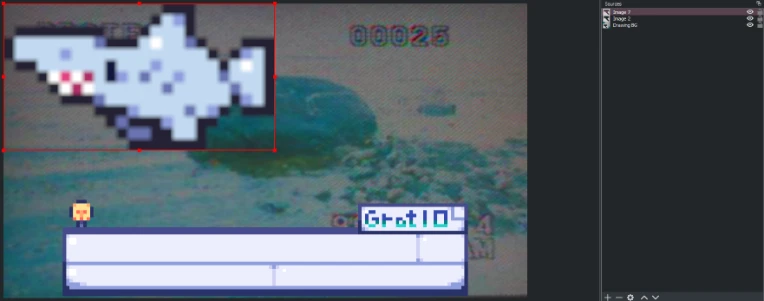
[a few different papercraft printouts laminated and placed into snow, a Keyboard, Grat, and Beefette are shown]


I also use paper printout photos for my website


Other Smaller Entries

Cardboad cutouts

If you've got money to burn why not get a cardboard cutout of your pixelart? it's great if you've got an OC or a Main character for a game and you want something eye catching for your stand!


Fonts

You can make custom fonts for your documents or birthday cards, a pixelart font maker i'd recomend is BitFontMaker2


Board Games

Franek a pixelartist is making a board game with their pixelart, i've also seen people remake the classic cards you buy, redrawin the queen or king and such.


Shirts, Mugs, And Such

Theres tons of places you can go to get your own printouts on mugs or shirts, Spreadshirt is what i've used before and the quality is alright but theres also people that use Redbubble, you can also use Redbubble as an store for your items too, like here.

but i'd check your options with other stores as yours before choosing it

iu_957787_7775309.webp

[a Mug with a >x) face on it]


Graph paper

You can also draw pixelart on Graph paper thats the paper with small squares instead of just plain lines, it was also used for sketching pixelart before making it on the computer. Brandon James Greer's video on the subject


Mini Monitor LED's and backpacks

Theres tons of different LED apperal where you can program your own pixelart on it, its a good way to show off your pixelart, theres also cosplayers with TV heads that use pixelart for faces


Anything else?

if theres anything i've missed me feel free to comment and i'll look into it and add it here :o


Farewell

iu_957788_7775309.gif

Gif Source by @slitherpunk


Thats all the mediums i've found out about so far, thats bound to be more so please let me know if any are missing!


if you wanna check out any of my other stuff then i'm on pretty much everywhere*


Check out my Twitch! i make plugins and web apps to make viewing the best i can!, and i'm always happy to talk to anyone stopping by! so stop by why don't-cha! Blep


My Tutorials are also posted on my Newgrounds[www.twitch.tv] and Tumblr so if you'd rather read them there !


if you want updates on Me or any content i make i'm active on Twitter & Mastodon


And first time a donation link but like don't bother, i make tutorials because i find them fun and rewarding, blep :>


iu_957789_7775309.jpg

[a cat sticking up their hand as to say something with the text "I have a silly thing to say" the cat also has hair like Grat does]


Sources + Extra-Reading

iu_957790_7775309.gif


"Show your workings"


Gif found from Jilf


Note: All photos are Made / Photographed by me unless specified otherwise


■ HAMA & Perler beads

HAMA's website

Perler's website

HAMA's Youtube Channel for the factory video

misc wikipedia link.

Wikipedia on Fuse_beads 


鰯(いわし) for inspiration for the bead drawing

Their Twitter

Their Dotpict


◆ Cross Stitching + Embroideries

Wikipedia about Cross stiching


16pxl or 8pxl links

Their LinkTree

Their Tumblr

Their Twitter

Their Instagram

Example embroidery by them


鰯(いわし)/ @iws_nbs_tmr

Their Dotpict

Their Twitter

Cross Stitch-like pixelart example 


◀ Mosiacs

Wikepedia about Moisaics

Image source for the Mosiacs photo

Invader an anonymous Mosiac artist

Example of LEGO mosiacs by @KupoGames


▣ Paper Crafts & Paper Minecraft

Planetminecraft blog with Minecraft Papercraft examples

The Ultimate Guide to Minecraft Papercrafts by Instructables

How to make the minecraft sniffer out of paper by The mushroom king

OK KO Let's by Heroes - Extended Credits

Wiki how to Laminate Paper

Grat's Website featuring paper printouts


▲ Other Smaller Entries

BitFontMaker2 by pentacom


Franek

Their Mastodon

Their Twitter

Their Instagram

Example of a pixelart board game


MimzyyMay

MImzyy's Twitch

Example of a Redbubble store


Brandon James Greer

Their YT channel

Example of Graph paper for pixelart


Various Finfin Gifs Sourced from Tumblr

Finfin Breaking & Entering

Finfin Explode

Writing Finfin


Tags:

Posted by Grat-Grottenberg - April 3rd, 2023


This is a small info dump about how live2D & Inochi2D handles pixelart models.


Short Info.

  1. Always use Even numbers like: 200%, 400% for Inochi (as of now)
  2. Stay away from 100%, 300%

in Inochi the pixelart may get jumbled into the wrong places.

Note: Inochi is under Development these problems stated may already be fixed on the Nightly version of Inochi

Note: Live2D will display pixelart to a blurry degree, resizing to 5000% times original size helps, but it will always be blurry.


Original size aka 100% x 100% in Aseprite


In Inochi some parts of the model are placed in the wrong spots but the Point filtrering Inochi2D helps making all the pixels extremely clear.

iu_938772_7775309.png


In Live2D the model at 100% is extremely blurry as there is no point filtering

iu_938774_7775309.webp


200% x 200%

Perfect displaying, the pixelart looks a little out of place when not in point filtering but it jumps into the correct space once it's enabled.


iu_938773_7775309.png


300% x 300%

Not good placement of pixels, better than 100% but still not good, theres also a pattern of uneven resizings not placing the pixels correctly

iu_938775_7775309.png


400% x 400%

Perfect displaying same as 200%


iu_938776_7775309.png


500% x 500%

Pixelart still out of place, but to an even smaller degree now.


iu_938777_7775309.png


500% x 500% in Live2D too, it doesn't look as blurry anymore but has odd lines which will not go away.

the lines will also display inside model animators like Vtube Studio.


iu_938778_7775309.png


That's what i've got so far, i'll update my Exporting Live2D model tutorial accordingly to fit this new infomation -w-


Tags:

Posted by Grat-Grottenberg - June 4th, 2022


Live2D + Aseprite Tutorials! ヾ(•ω•`)o

iu_656903_7775309.png


Info!

This Guide/Tutorial Contains all the links to my different Live2D & Aseprite Tutorials. it also has links downloadable bases i've made and test models also!


i started making tutorials for Live2D & Aseprite at the start of this year 7th Jan - 6th July and its finally done!


Links


Steam Guides about Live2D!

  1. Live2D Building
  2. Live2D Exporting (From Aseprite)
  3. Live2D Rigging Advice


Newground Tutorials about Live2D!

  1. Notes On Live2D (Old)
  2. Live2D Building
  3. Live2D Exporting
  4. Live2D Rigging Advice


Itch.io Downloadable Test Models!

  1. Model V1
  2. Model V2
  3. Model V3
  4. My Profile (Check if its been a while, maybe theres a new model!)


Cool People who Uses/Makes Pixel models! (From Building your Pixel model Tutorial)


Thats it for the Live2D Tutorials and Bases i've made!

Heres all the Misc Tutorials and stuff i've done!


Steam Guides Misc


Newground Tutorials Misc


Other Things i've done!


Thanks for all the wonderful memories!

if you excuse me going all sappy lol. its been so freaking wonderful making tutorials, it taught me a lot!


and even better was the kindness you all showed! all the "Thanks for making this!" & "this helped me!" messages was actually really motivating!


Thanks for all the Wonderful Memories.


Stay Awesome Aseprite Community 💙


If you still want to see what im up to check out my socials!


(Newgrounds doesnt let me inbeed a video)

so uhh have a photo of the video instead lol

iu_656904_7775309.webp


iu_656905_7775309.png


Tags:

1

Posted by Grat-Grottenberg - March 11th, 2022


Intro

Ayoo Grat back, i had a discovery while setting up stuff for a date stream or something

you can aprently use nearest neighbour (though it goes under another name) in OBS


OBS has an easier time scaling images up than scaling them down, like you exporting your pixelart at 3200% of its original size to make it fill about a 1/25 of the screen, thats kinda bad cpu wise.


and scaling them at the default 1000% aseprite may not be enough sometimes ether!


iu_572591_7775309.webp


*Resized by 1000% pixelart*


Lets make this run better and always look Crisp shall we?


Through Scale Filtering


One way to do This is through Scale Filtering!


This was the first way i discovered, its pretty easy to do too! this is what i'd use if i had a Lot of images to place it on, like a date scene that needs switch-able icons and a level up bar and such


Import your pixelart into OBS i'll use the smallest size for this example, this is 100% Aseprite's default export size


iu_572592_7775309.webp


*very blurry no good *


By right clicking the images you can go to Scale Filtering and choose a scale filtering


iu_572594_7775309.webp


The Ones that seem to work like nearest neighbour is Point & Area


i'm honestly not the best or very knowledgeable about OBS at all, so i cant explain the why's


Picking Point or Area you should have your pixelart be scaled by nearest neighbour aka like it should,


Sha-bang boom pow drum roll now


iu_572593_7775309.webp


Through The Filter Tab

Another way to do this is through the Filter Tab, Scaling Filters are also filters so they're also in that tab!


Thanks to BokiBokiPixelart for the info that there was a way to do it through the filter tab! :>


iu_572595_7775309.png


You can Enter the Filter tab by right clicking an images in the sources or the display window!


Here is an Images without a filter, we'll need to add a scaling filter,

this images is 100% (aseprite default export size)


iu_572596_7775309.webp


thas a bit blurry :/


By adding a filter you'll be able to specify a Scaling method and a ratio, ( 1:1 is good :> )


iu_572597_7775309.webp


Bye bye :>

Okay i hope this was useful to you! i'll never need to delete a scene again because of lag,

oh and also try checking that the images should unload when not shown to improve performance even more!


please check out Boki they we're really helpful on giving insight in on how they do it :>


as always you can comment if you need help, i'll try. thats all i'm gonna promise.


if you make something you'd like to show me or something then you can dm me on my Twitter and.. if that date stream sounded intresting then check out my Twitch!


bye bye !


Tags:

1

Posted by Grat-Grottenberg - February 13th, 2022


You made it! you've Made and Exported your own model! (if not maybe go back to a tutorial?).

We can now start the looongg rigging process, i'm planing on this more being a show and tell type of tutorial,

as live2D is honestly just easier to understand if you can see what im talking about while i do it.


This is part 3 in a line of Tutorials on building your own pixelmodel!


Tutorials on Steam

  1. How to build up your Pixel-Live2D-Model
  2. How to Export a Pixel-Live2D-Model from Aseprite to Live2D Cubism
  3. How to Rig a Live2D Pixel-Model


Tutorials on Newgrounds

  1. How to build up your Pixel-Live2D-Model
  2. How to Export a Pixel-Live2D-Model from Aseprite to Live2D Cubism
  3. How to Rig a Live2D Pixel-Model <- You're here


okay This is the model we're gonna be working on!


(This is HaybleneVT btw, she's pretty cool)

iu_549998_7775309.png

iu_549999_7775309.pngiu_550000_7775309.png

(^ extra stuff, big icon for Vtube Studio + .ico file for desktop deco)


I use a lot of deformers to move around more then one object now, like on the pupils are a good place to place them all in the same deformer and then moving that.


X-Y-Z Head Params

This time i made something different for the front and back hair, i made a front hair and a back hair. but the front hair's outline is split into another layer. like this


iu_550001_7775309.png


this made a cool effect where when the front hair exits the outline of the back hair, then another backup outline reveals it self like in This video


iu_550002_7775309.png

iu_550003_7775309.png

iu_550004_7775309.png


The extra outline works pretty well even up at diagonals, remember to synthesize corners!

The Z axis is very simply just a rotation deformer on a deformer containing all of the head,

(remember that the back hair may be behind the body!)


The Eyes

Now on to the Eyes :>


iu_550005_7775309.png

this is how my eyes look


The Smug is placed Bellow the eye and is moved up one pixel when i want to make a smug expression, i normally set it to eye smile, but it can become messy, so if that happens to you too, then it could good to place it as an expression instead!


I move the Warp deformer of the Pupils around to make the X Y of the eye params.


iu_550006_7775309.png

The eyes frames switch between each other by using opacity and making them overlap into each other, this makes a pretty fluid eye movement,


though if can become messy looking if eye tracking is not set up correctly, when the eyes loose tracking in a program like vtube studio then, it can become ghost-yish[?].


i've set up this type of eyebrows this time

iu_550007_7775309.png

iu_550008_7775309.png

first and formost i set up all the X & Y was set up by moving the Deformers for Eyebrow L and R.


And this time i also made a Eyebrow Angle, the eyebrows snap, as if was on opacity then it would be very easy for it to look *ghosted*. you can use snapping by placing a keyframe on the two end ones,


but then deleting every other keyframe for it. this makes it snap when a keyframe Jumps to another now active one


Mouth Params


The Mouth Params are basicly the same as the eye brows are!


iu_550009_7775309.png

just remember that 1 = Smile 0.5 = in between 0 = frown.


The Body Params


The Body params is what i use to make the Legs and Arms work, when looking up the arms go in-ward to the body, the same is what i do with the legs


iu_550010_7775309.webp


Ending off

Thats about it, now just make a texture atlas, and export everything.


Extra Resources

  1. Live2D Docs


I dont have much more for you here! i hope your model turned out fantastic! if not then you can always try again! pratice makes perfect. you can check me out on Twitter and if you have any questions feel free to ask in the comments, or if you want to show me what you've made, then feel free to dm on Twitter! - Grat


Tags:

1

Posted by Grat-Grottenberg - January 23rd, 2022


Making a Live2D model in pixels were kinda overwhelming, sinse at the time nothing of help were on the Internet about pixelmodels at all. all of this into is just from my experience from making all my models


so i thought it would be a good idea to show you how I make My Models and some tips i've picked up along the way aswell as some info and resources :>


Note This is Part 1 in a series of Tutorials


Tutorials on Steam

  1. How to build up your Pixel-Live2D-Model
  2. How to Export a Pixel-Live2D-Model from Aseprite to Live2D Cubism
  3. How to Rig a Live2D Pixel-Model


Tutorials on Newgrounds

  1. How to build up your Pixel-Live2D-Model <- You're here
  2. How to Export a Pixel-Live2D-Model from Aseprite to Live2D Cubism
  3. How to Rig a Live2D Pixel-Model


but first a little quick info!

  • Pixel live2D models are made of Upscaled pixelart.
  • Pixel models are generally more rare than Digital-art Live2D models.
  • Pixel models are generally rigged like normal models or atleast can be.


here is also a list of Vtubers/Artists who Makes/Uses Pixelmodels.

These could be good to look through before you decide on a way to build your model!

(These are just the ones i've found so far)


  • The Paralax Effect VS Deformers

Pixel-models doesnt like being bended by a Warp-Deformer much, and in turn someone smart on the internet found out that you could split the hair into layers and make a simple Paralax Effect with them (Org Tweet of that)


Generally you're gonna be able to recreate the Look left and Look right of the Model Inside Aseprite even before making more then the Head of the model.


iu_531980_7775309.png


Here you actually see i made a mistake on the Left looking one, its outline is a little off


  • Snapping VS Opacity

Pixel-models, can look pretty nice when stuff just snaps from one position to another, the Opacity from switching sprites can look a bit Blurry if you arent careful.


Bellow are Exsamples of Opacity (The Eyes) and Snapping (The Wings), both work really well, but on the wings it makes sense just to snap else it will just create a Ghost'ish effect. These Sprites Animations are just made by Making the different would be Frames on diffrent layers.

Snapping Exsample

Eye Opacity Exsample


i think thats about all the info i got :>


Okay so making a model, is kinda painful, but atleast we're gonna be in pain together!

i always start by making the Faceplate of the Model. Oh and remember to split everything into layers like a normal model. :>


iu_531981_7775309.png


something like this


Then i ether go and make the front hair, or the eyes i'll go for the eyes for this Tutorial


iu_531982_7775309.png

Something like this!


you need to make a sprite for Open Eyes, Half Closed Eyes, and a Closed Eyes, i mainly only do that with the eyelashes


i split the Eyelash, Eyewhite and the Pupil, i keep my pupils in its own folder so you can add more pupils like a heart eye pupil or an angry/yandere one.


iu_531983_7775309.png

the layers for me ends up looking like this, now do this for the other eye (or eyes) too.


oh and how i add smug is just by adding a small line of whatever skin color the character has under the eyes on a layer above the pupil and eye white.


for it to look good exported, it actually needs to be put a pixel or two down, so when you enable it in Live2D, it moves up into place instead of showing up by Opacity.


iu_531984_7775309.png


when we come to rigging, then i normally bind the smugness to the EyeSmile param,


Thats the eyes done :>


Hair time!


iu_531985_7775309.png


I make my Hair by actually Splitting it into 2 or 3 parts, The front hair, The Middle hair, and the Back hair which is split into even smaller parts.


its very importent that the hair is able to create a small paralax effect like i said before, we do this by the splitting.


i always start with the front hairs, but then when i come to the part thats slightly more behind then i switch to the middle hair and then flip flop between till i'm happy about them


iu_531987_7775309.png


then i as a finish'er i add the back hair, and i make sure the layers sprites overlap slightly even with the outline


iu_531986_7775309.png


then we're nearly done, we still need a neck between the face plate and the middle hair, then thats the head done!


iu_531988_7775309.png

iu_531991_7775309.png


All done, i added a little bit of Expression stuff too, you can go do that too if you want :>


(but just to be sure, test if it can look from left to right, maybe up and down without the outline breaking?)


The body!


I must admit that i'm not the best at rigging the body, i can show you what i do know though


i like splitting the body into two folders, Upper body and Lower body.


iu_531989_7775309.png


I split them up so its easier the Rig the Breath parameter in Live2D


i also split the Legs at the joints so you can make them move when looking from side to side, same goes for the arms.


as you can see its showing two outfits for the model, you can make the model flip between those with a parameter later in live2d aswell


else i dont really do much more then that, my bodies are very simple, heres how it looks though


iu_531990_7775309.png

very simple model, you can always add more to it later! :>


That being said thats about all i know, i hope it gave you a little idea about how you go about building one, its a daunting task, but the end is very worth it.


Now its onto the next Tutorial in the List!

Tutorials on Steam

  1. How to build up your Pixel-Live2D-Model <- You just did this one!
  2. How to Export a Pixel-Live2D-Model from Aseprite to Live2D Cubism
  3. How to Rig a Live2D Pixel-Model


Tutorials on Newgrounds

  1. How to build up your Pixel-Live2D-Model <- You just did this one!
  2. How to Export a Pixel-Live2D-Model from Aseprite to Live2D Cubism
  3. How to Rig a Live2D Pixel-Model


if theres anything that could be worded better or if i'm missing something then please dont fear to dm me about it on my twitter - Grat-Grot-10-Berg


Tags:

Posted by Grat-Grottenberg - January 19th, 2022


did you know? Aseprite actually has Script support, it can help make Aseprite able to Tasks its not able to do by its own.


I've been using scripts for awhile espcially the Export-as-PSD Script, but theres a lot more then just that script. :>


Here bellow are some good places to search for Scripts for Aseprite-Scripts!


Here is some Scripts i've saved on my bookmarks! (you can find a full list of my Bookmarks here)


Welp now to the Tutorial / Walkthrough! here i'll show how you simply import Scripts into Aseprite. i'll be showing this with this Script


Okay first lets open the Open Scripts Folder under the File tab


iu_528145_7775309.png


Then in the Scripts Folder, you should add your New script, the Scripts are in .Lua Files :>


iu_528146_7775309.png

iu_528147_7775309.png


Add the file, and Then you should close the folder and Go into Aseprite again


Then you should Press the Rescan Scripts Folder button, you could also Restart Aseprite


iu_528148_7775309.png


Then the Script's Content should show it self


Note: that not all scripts does something in the Scripts Tab,

if its something that adds a Filter then what it adds would likely by under Edit or somewhere else


iu_528150_7775309.png


Then it should Show up on the place where it should appear!, for this one Clicking the Script opens its menu.


Then it should Execute the Script doing what it was made for.


(maybe i should have use a newer Script or a bigger sprite, eh, you get it right?)


anyways i hope you found this a little useful, you can as always check out my Twitter!

oh and dont fear to dm me if you do. i'd love help on wording stuff better or seeing what you guys make!


i think thats it, bye! :>


Tags:

Posted by Grat-Grottenberg - January 16th, 2022


Very Short Tutorial on Exporting Pixelart as Icons in Aseprite


I "rember" being really confused on how you'd export your pixelart and make it into icons.

so i thought i'd write down my know how on what i know about doing it!


see this more as a little walkthrough'ish guide with a little bit of into about .ico files sprinkled in over. hope you enjoy :>


First and formost Make your icons! something like this ↓

iu_525766_7775309.png


.ico Files comes in a few different sizes, i'll list them bellow

(only inportent for older Windows Vista, 7 and Older says: Google atleast)

Standard Icon sizes (all has 24bit color, 8bit transparency)

  1. - 256 x 256
  2. - 48 x 48
  3. - 32 x 32
  4. - 16 x 16

Extra icon sizes

  1. - 180 x 180
  2. - 128 x 128
  3. - 96 x 96
  4. - 72 x 72
  5. - 64 x 64
  6. - 24 x 24


Though as the good reader you've already noticed that theres a 22 x 22 in the picture above and That size is not on the list


well thats because the sizes seem only to be importent for computers running windows Vista, 7 and Older. so if you're not on one of those OS..'es[?] then you should just be fine exporting at any size :>


Welp that was the info part done! Now to export your pixelart as an icon!


iu_525768_7775309.png

Go to your Export Screen like you would any other time you've exported pixelart.


But in your Export settings, Change the file type to be .ico and set the resize value to 100% aka the default size


iu_525767_7775309.png


Clicking export it should just export without any problems.


Then you should just find a little .ico file where the export place is located like this


iu_525769_7775309.png

(picture resized by 600% for your viewing pleasure)


Thats basicly it. i hope this was helpful, i sure needed some help on this, i remember using like 4 hours trying every "How to make png into Icon Tutorial" on youtube and still not having it work out. so hope this helps :>


but for people who havent ever changed an icon on their computer yet, i'll explain how to do that aswell


How to change icons on stuff 101


So to change an icon on something, like a folder, program. we first need to go to the files Properties

(Note: "Egenskaber" is "Properties" in Danish)


iu_525771_7775309.webp


After clicking the Properties tab


A new menu should open up, in that you need to go Customize aka the last one

(Note No2: "Tilpas" Means "Customize" in Danish)


iu_525770_7775309.png


You need to click on the Change Icon button at the bottom of the menu,

(Note No3: "Skift Icon means Change Icon in Danish")


it should open up the menu bellow

iu_525772_7775309.png


You'll wanna click on the Browse button and find your icon on your Computer

(Note No4: "Gennemse" means "Browse" in Danish")


i Have all my Icons in they're own Folder for easy access sence the Browse button remembers where you last found a Custom Icon.


iu_525775_7775309.png

iu_525774_7775309.png


finding and clicking and clicking the OK button, the icon should change the Icon of the Folder / Program / File


Then Remember to click the Apply button

iu_525773_7775309.png


Then it should end up looking like this !

iu_525776_7775309.png


And thats it! now you have your own Pixelart as an Icon on your home computer!

More Reading / Resources


I hope this helped you! you can as always check out me on Twitter! and dont fear to DM me i'd love to see what you guys make! or if you guys have an idea on how to word something more clearly - @GratGrottenberg


Tags:

Posted by Grat-Grottenberg - January 7th, 2022


Short Tutorial on how i export from Aseprite and import it into Live2D Cubism!


This is basicly a short Tutorial on how to export and import a pixelart Live2D Model. this is somewhat close to what this tutorial i made a long ago goes over. but this focuses on only exporting... hope you find it somewhat useful :>


Tutorials on Steam

  1. How to build up your Pixel-Live2D-Model
  2. How to Export a Pixel-Live2D-Model from Aseprite to Live2D Cubism
  3. How to Rig a Live2D Pixel-Model


Tutorials on Newgrounds

  1. How to build up your Pixel-Live2D-Model
  2. How to Export a Pixel-Live2D-Model from Aseprite to Live2D Cubism <- You're here
  3. How to Rig a Live2D Pixel-Model


Quick Before we start, we need to be sure you have everything needed!

  1. First and formost you need a copy of Aseprite
  2. Then you also need the "Export as PSD script" for Aseprite by Tsukina-7mochi on Github!
  3. You also need a Copy of Gimp (its free dw)
  4. And of course a Copy of Live2D Cubism (has free trail)


First and formost make a pixelart Model ready for export, this sounds a lot harder then it actually is. just follow any Live2D model Tutorial on how to seperate layers, it should look something like this when done -v-


iu_517930_7775309.png

Heres how my layers looked before Exporting!


iu_517929_7775309.png

And here is how my Model looked before exporting!


Now that the model is ready and done we should start preparing for exporting!

REMEMBER TO BACK UP YOUR FILE :> (the next parts can crash Aseprite)


iu_517928_7775309.png

First thing we need to do is Resize the model sence Live2D doesnt really handle models at pixel level i dont think :/


Just move over to your [Sprite] Bar and mouse over and click on "Sprite Size..."


iu_517931_7775309.png

Then this menu should open up, if the Lock Ratio isnt ticked off already then do that. now resize the model by a large amount.


i normally export mine by 5000% you can use % instead of pixels in the lower bars... (The model was orginally 55 x 110)


iu_517932_7775309.png

Then after the resizing is done, we can start exporting, this is where we use the "Export as Psd" script you needed to install in the Intro.


Mouse over your files Tab then over your Scripts Tab and then click on "Export as Psd".

iu_517933_7775309.png

This Menu Opens up, you can click on the file name to decide where to place the file (thats a good idea to control if it exports correctly first of all :>)


then when you click export you should see Aseprite Crawl to a halt because you just set a 5000x5000 pixelfile to export with a script ment to handle small pixels like 100x100, this freezes the Aseprite. BUT DONT CLOSE IT. just leave it


go take a walk or something else for about 30mins or more (Time can take like 5-30ish) for an export, so just go do something else. :>


iu_517934_7775309.png

And when you come back something like this will probably be here! now its fully exported out into a .Psd file, but a catch. its *Broken* Oh nooooo Right? nope, we can fix it (its broken in a way making it not able to import into live2D Cubism yet...)


Open the file up with Gimp!

iu_517935_7775309.webp

Just select the file and make it open with Gimp ether way is fine -v-


iu_517937_7775309.png

Then it should open up.. with an Error Oh no oh god! nope still not a problem just click ok


we just need to use Gimps inbuilt .Psd Exporter because that works!


iu_517936_7775309.png

so just go and export it and make it replace the Old psd, because its broken and not good for anything anyways


Now you basicly have a working .Psd. that you can just Drag over Live2D Cubism! :>


iu_517938_7775309.webp


And after that the model is now safe and sound in the Live2D Cubism Editor, Now you can start Rigging you new Model and impress all you friends! :>


But i also have some Refrences for you soon to be Pixelmodel rigger!

i also have made Vods/Recordings of me making my Models if you would like to look over my shoulder while i make one of these!


But thats about it! i wish you the best of luck on making your own model now, and i hope it looks fantastic! and if you wanna show you cuz i'd love to see lol, you can find me on twitter @GratGrottenberg dont fear to dm me :>


iu_517939_7775309.webp

BYE BYE!!! :>


Tags:

Posted by Grat-Grottenberg - January 6th, 2022


Grat's Pixelart_Ref Bookmark dump


Pixelart_Ref

{

--- Asesprite_Scripts

{

}


--- Other Cool Pixel Stuff

{

}

--- Twitter Bookmarks (Generaly just stuff i liked a lot)

{

}

}

Thats about it for now, take a sift through it i'm sure i have some bookmarks/Tutorials you havent found yet, anyways cheers and see you -v-


Tags: