


You made it! you've Made and Exported your own model! (if not maybe go back to a tutorial?).
We can now start the looongg rigging process, i'm planing on this more being a show and tell type of tutorial,
as live2D is honestly just easier to understand if you can see what im talking about while i do it.
This is part 3 in a line of Tutorials on building your own pixelmodel!
Tutorials on Steam
- How to build up your Pixel-Live2D-Model
- How to Export a Pixel-Live2D-Model from Aseprite to Live2D Cubism
- How to Rig a Live2D Pixel-Model
Tutorials on Newgrounds
- How to build up your Pixel-Live2D-Model
- How to Export a Pixel-Live2D-Model from Aseprite to Live2D Cubism
- How to Rig a Live2D Pixel-Model <- You're here
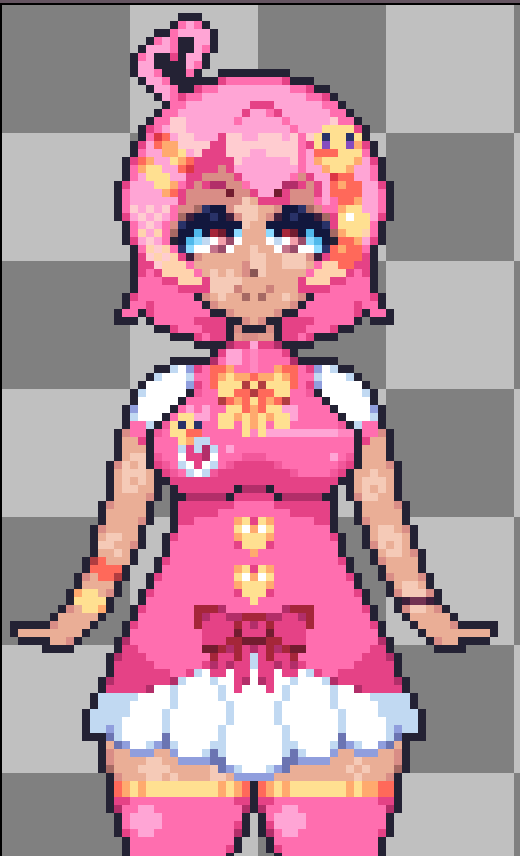
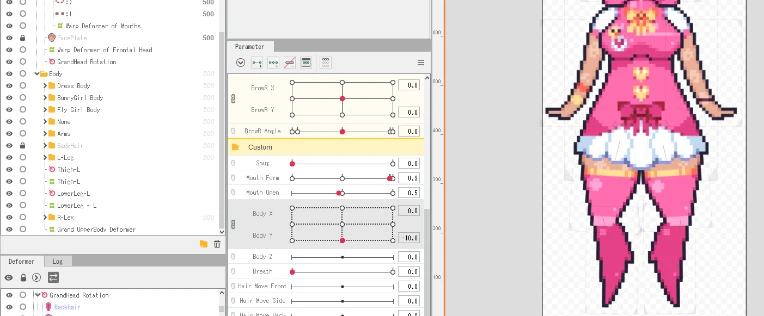
okay This is the model we're gonna be working on!
(This is HaybleneVT btw, she's pretty cool)
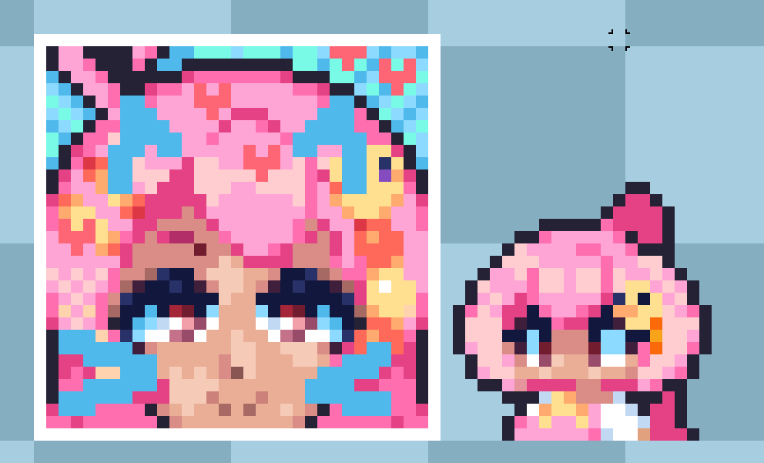
(^ extra stuff, big icon for Vtube Studio + .ico file for desktop deco)
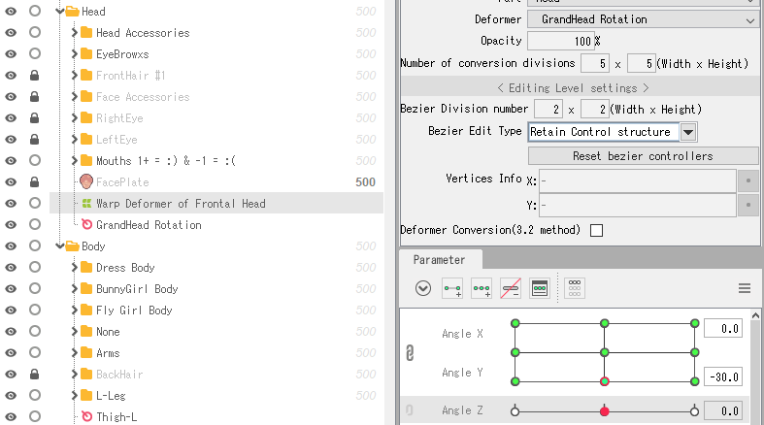
I use a lot of deformers to move around more then one object now, like on the pupils are a good place to place them all in the same deformer and then moving that.
X-Y-Z Head Params
This time i made something different for the front and back hair, i made a front hair and a back hair. but the front hair's outline is split into another layer. like this
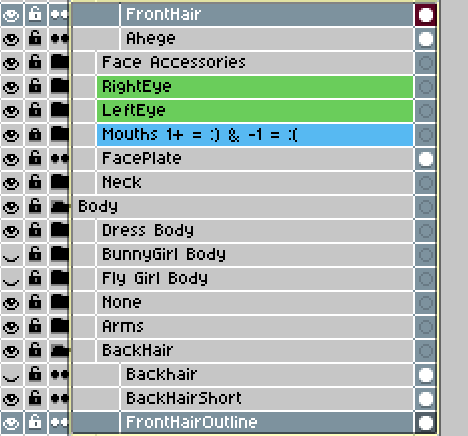
this made a cool effect where when the front hair exits the outline of the back hair, then another backup outline reveals it self like in This video


The extra outline works pretty well even up at diagonals, remember to synthesize corners!
The Z axis is very simply just a rotation deformer on a deformer containing all of the head,
(remember that the back hair may be behind the body!)
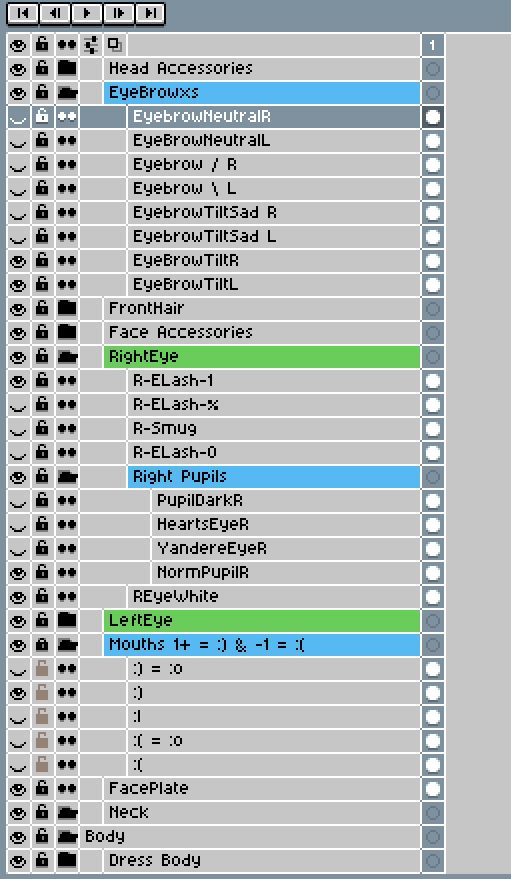
The Eyes
Now on to the Eyes :>

this is how my eyes look
The Smug is placed Bellow the eye and is moved up one pixel when i want to make a smug expression, i normally set it to eye smile, but it can become messy, so if that happens to you too, then it could good to place it as an expression instead!
I move the Warp deformer of the Pupils around to make the X Y of the eye params.
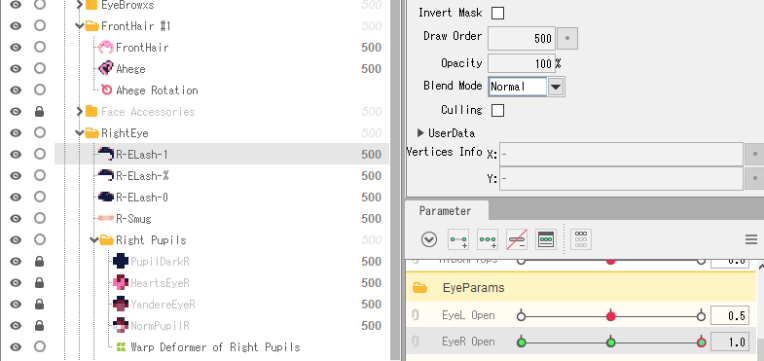
The eyes frames switch between each other by using opacity and making them overlap into each other, this makes a pretty fluid eye movement,
though if can become messy looking if eye tracking is not set up correctly, when the eyes loose tracking in a program like vtube studio then, it can become ghost-yish[?].
i've set up this type of eyebrows this time
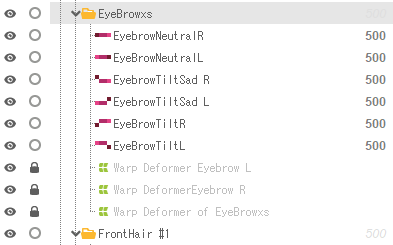

first and formost i set up all the X & Y was set up by moving the Deformers for Eyebrow L and R.
And this time i also made a Eyebrow Angle, the eyebrows snap, as if was on opacity then it would be very easy for it to look *ghosted*. you can use snapping by placing a keyframe on the two end ones,
but then deleting every other keyframe for it. this makes it snap when a keyframe Jumps to another now active one
Mouth Params
The Mouth Params are basicly the same as the eye brows are!
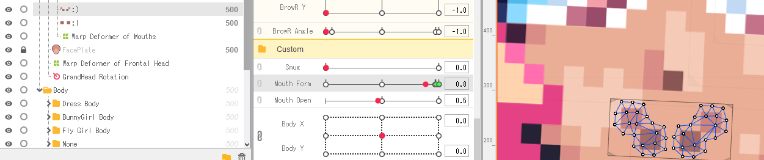
just remember that 1 = Smile 0.5 = in between 0 = frown.
The Body Params
The Body params is what i use to make the Legs and Arms work, when looking up the arms go in-ward to the body, the same is what i do with the legs
Ending off
Thats about it, now just make a texture atlas, and export everything.
Extra Resources
I dont have much more for you here! i hope your model turned out fantastic! if not then you can always try again! pratice makes perfect. you can check me out on Twitter and if you have any questions feel free to ask in the comments, or if you want to show me what you've made, then feel free to dm on Twitter! - Grat
Pingu
Very detailed walkthrough, thanks. I liked the rigged Hayblene video you had up on your twitter, are you looking to do commission work in the future?
Grat-Grottenberg
I can really only toss it up to a maybe atm. Once i've gotten my drivers license then theres maybe a bit more room to maybe try taking commission in the furture. sorry.
im also in a stage where im still throwing stuff at the wall to see what looks nice on a pixelmodel :>